 Gero Gerke
- Published on
Self-Documenting GraphQL APIs using Docker and SpectaQL
Introduction
Recently, I went onto the journey of providing GraphQL Documentation for a API that I was writing. I wanted these to be easily available and consumable, and once set-up I didn't want to spend a lot of time keeping them up-to-date.
The solution that I ended up using is SpectaQL. SpectaQL will run an introspection query against your GraphQL instance and then generate a nice looking HTML web-page where the queries and mutations are documented. It uses the type information available from GraphQL, the documentation of your queries and mutations and some additional data you provide. However, SpectaQL alone still needs to be run on every GraphQL schema change.
Therefore, I embedded SpectaQL building into a multi-stage Docker build and served the SpectaQL documentation from my API.
How it's done
SpectaQL
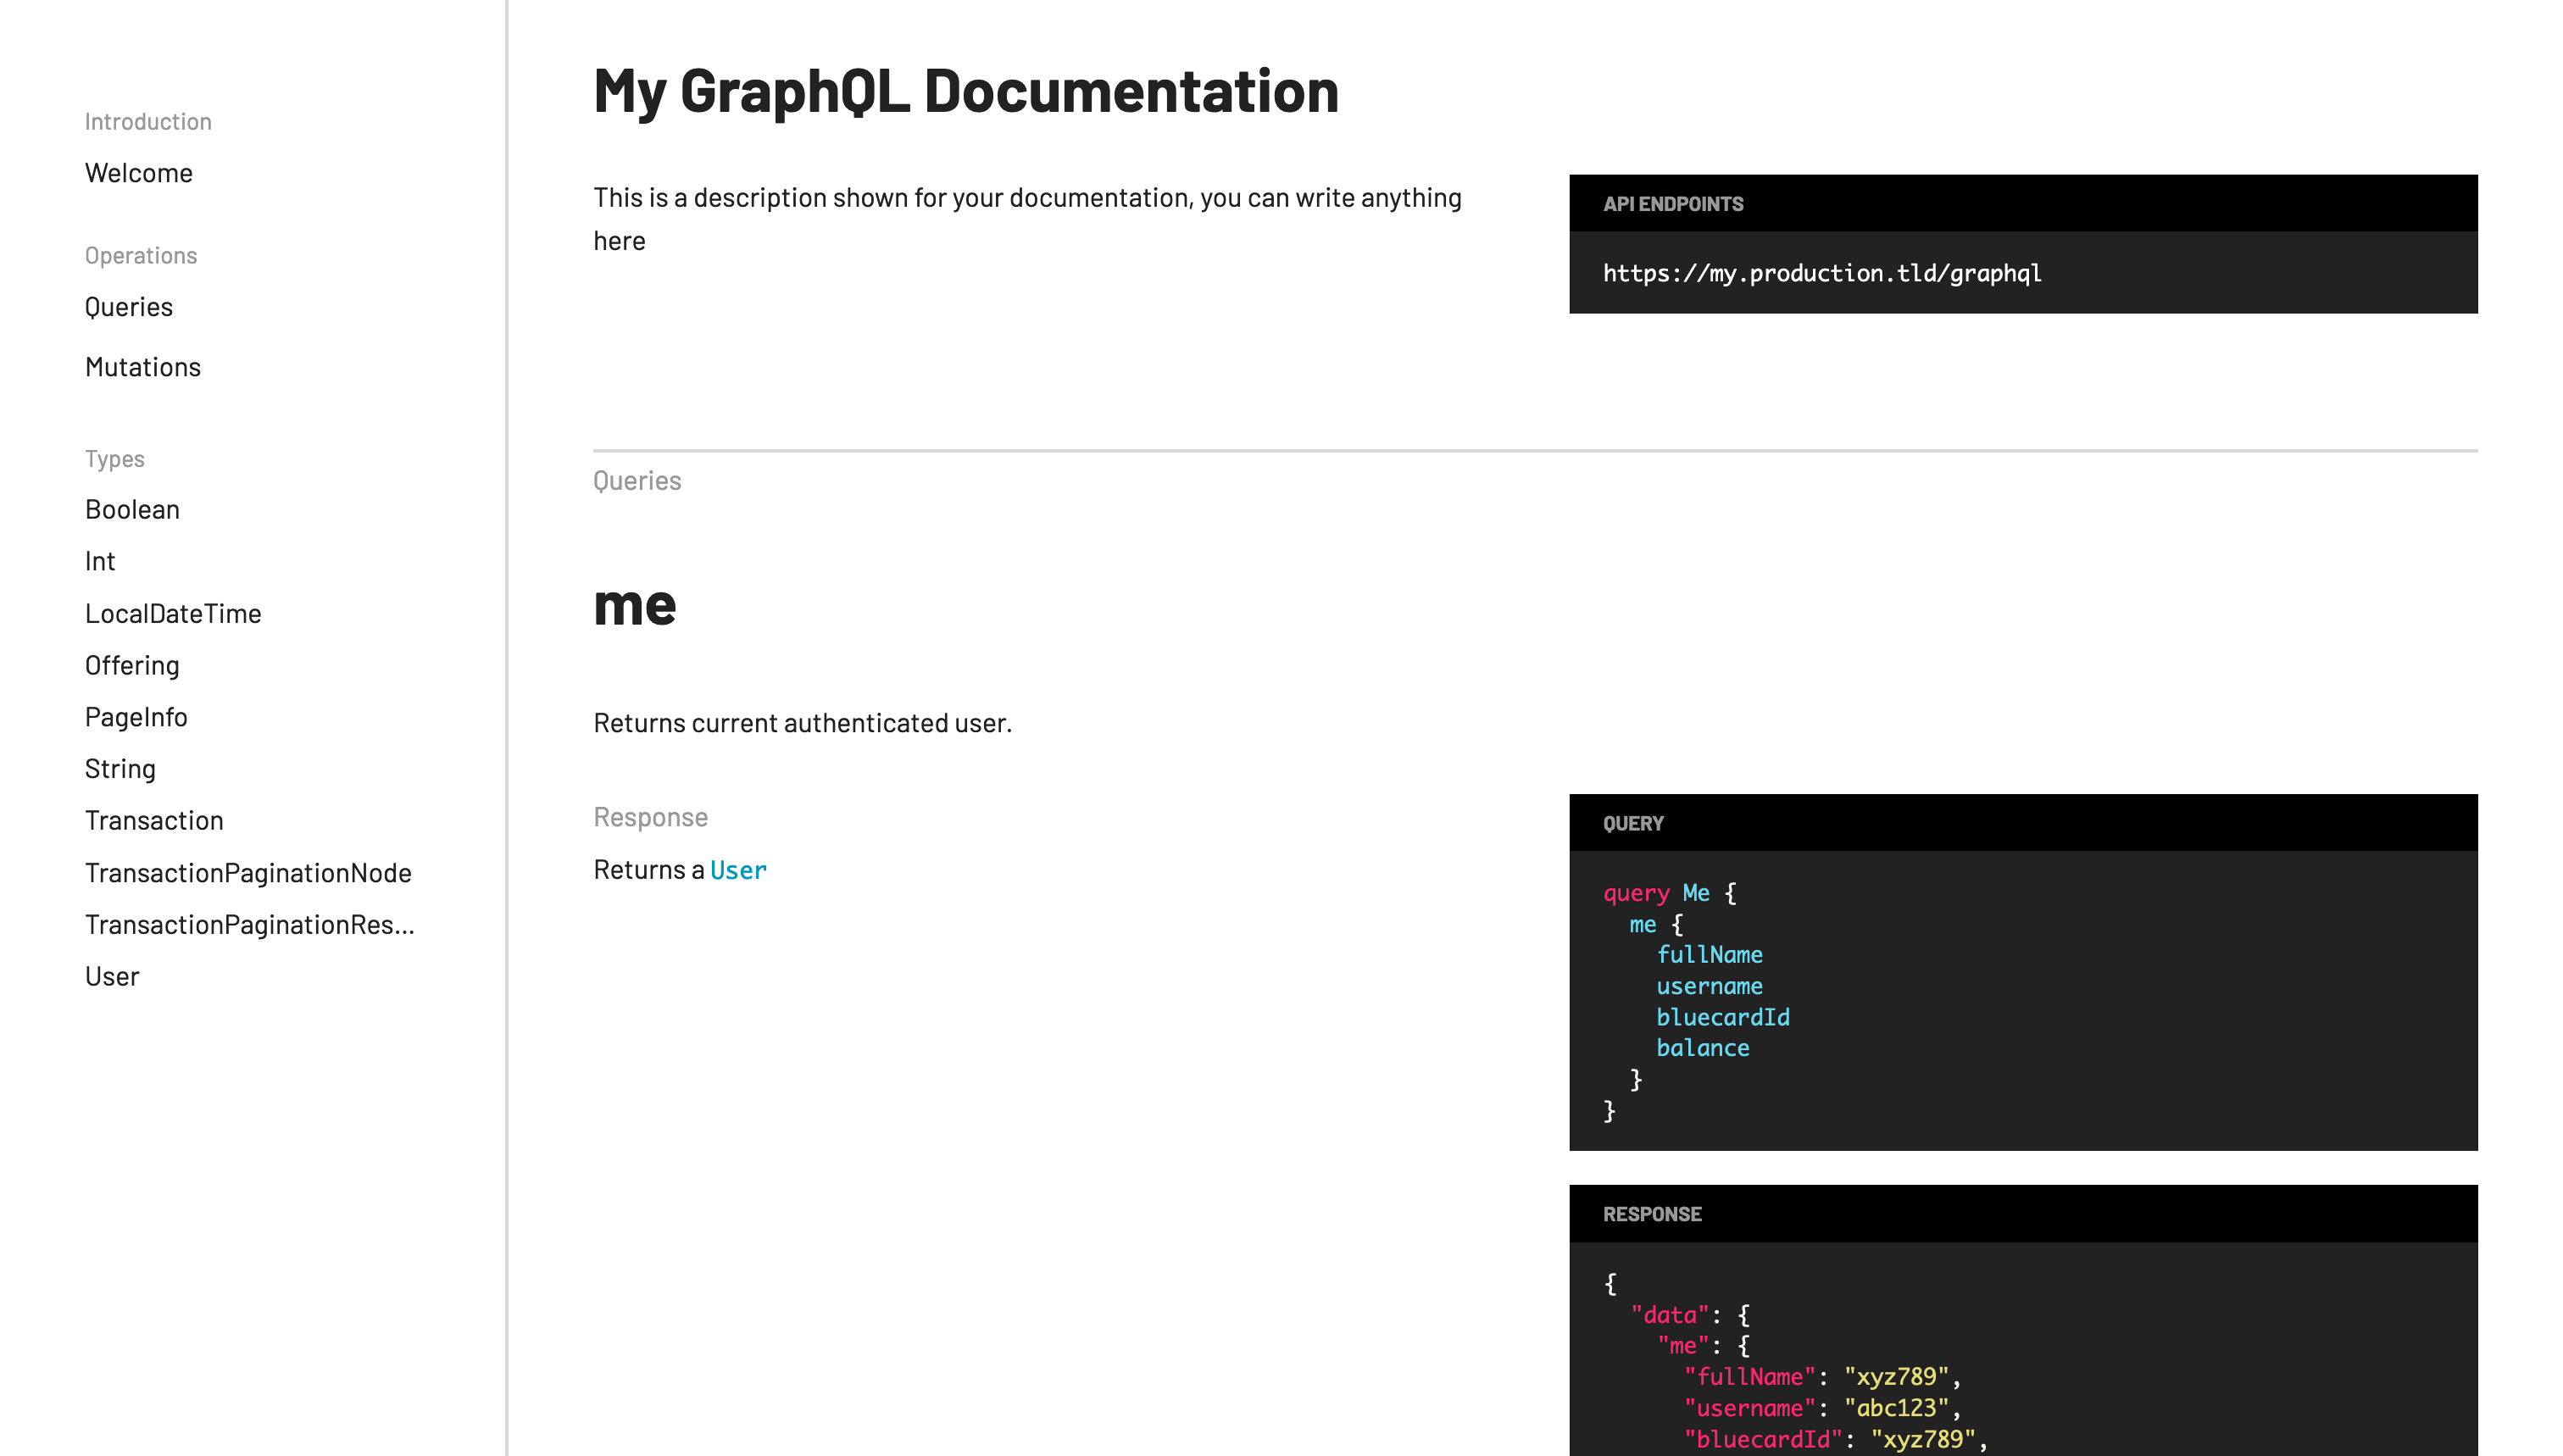
SpectaQL itself is a single command that you run against a live GraphQL schema. It can be installed by running npm install -g spectaql (Node and NPM must be installed). To generate a documentation, we will need a config file for SpectaQL. Mine looks similar to this:
introspection:
  removeTrailingPeriodFromDescriptions: false
  url: http://localhost:8080/graphql
  queryNameStrategy: capitalizeFirst
  fieldExpansionDepth: 3

info:
  title: My GraphQL Documentation
  description: This is a description shown for your documentation, you can write anything here

servers:
  - url: https://my.production.tld/graphql
    description: Production
    production: true
There is a wide plethora of options in the SpectaQL documentation (hah. meta), particularly you might want to look at x-introItems to explain your API further such as explaining Authentication or special concepts you're using in your API.
You should customize the servers section where your API is hosted and the info. Additionally, you could change the introspection field to point to your GraphQL API with introspection support.
You can then generate a SpectaQL documentation using npx spectaql ./spectaql.yaml. This will be saved in the ./public folder relative to your working directory. This output could then be hosted on any hosting provider such as Cloudflare Pages or Netlify.
Docker
I don't want to upload a new documentation each time the API changes to one of the hosting providers, so I chose to embed the generated documentation into the Docker container that my API is running in. For this, I changed my Dockerfile to be a (sidenote: Docker multistage builds allow you to use multiple containers when building an image and reuse files from older containers in the final built image.) .
# First Stage builds my GraphQL API written in Rust
FROM rust:latest AS rust_builder
RUN cargo build --release
# Second Stage builds the SpectaQL documentation
FROM node:latest as node_builder
RUN npm install -g spectaql
WORKDIR /myproject
# Copy the built API binary and the SpectaQL config file
COPY /myproject/target/release/myproject ./
COPY ./spectaql.yaml ./
# Start the API binary and run the documentation against it
RUN (/myproject/myproject &) & npx spectaql ./spectaql.yaml
FROM gcr.io/distroless/cc
WORKDIR /myproject
# Copy API binary and the built documentation
COPY /myproject/target/release/myproject ./
COPY /myproject/public ./public/
CMD ["/myproject/myproject"]
There's quite a lot going on here, so let me explain: In my project, the Dockerfile contains three stages. The first one builds the API binary from the Rust source code. This stage is named rust_builder so we can reference it later.
The second stage is using node:latest as the image, so we have a ready Node/NPM environment to build the documentation. There, we copy the binary from the rust_builder stage, start it and once it's running we generate the documentation. That is why we chose http://localhost:8080/graphql as the introspection endpoint earlier. That's where my API is running once it's started.
Depending on your API, you need to make some more adjustments here, including setting up the correct environment for your API to run, creating a dummy account or initializing the database so that the introspection query can run. For more elaborate setups running services like databases or caches alongside your application, you can use (sidenote: Docker in Docker) .
Finally, in the third stage, we copy the API binary and the built documentation. The third stage is based on cc which produces very lightweight final images.
Changing API to serve docs
Finally, one small change is necessary in our application. Since we've decided against using a cloud hosting provider such as Cloudflare Pages, our API must serve the documentation itself. For this, we change our application in such a way that it serves static files from the ./public directory under the /docs path.
Since my API is written in Rust (with warp and juniper), this looks as follows:
warp::serve(
    warp::get()
        .and(warp::path("graphiql"))
        .and(juniper_warp::graphiql_filter("/graphql", None))
        .or(warp::path("graphql").and(graphql_filter))
        .or(warp::path("docs").and(warp::fs::dir("public")))
)
.run(([0, 0, 0, 0], 8080))
Conclusion
This is all we need to do to have any GraphQL API serve its own, always up-to-date docs. We combined SpectaQL with Docker multi-stage builds and a small code change in your application code to build, package and serve beautiful GraphQL endpoint documentation that goes beyond looking at GraphiQL for your documentation needs.